WEEK 10
WEEK 10
MAKING A CONNECTION
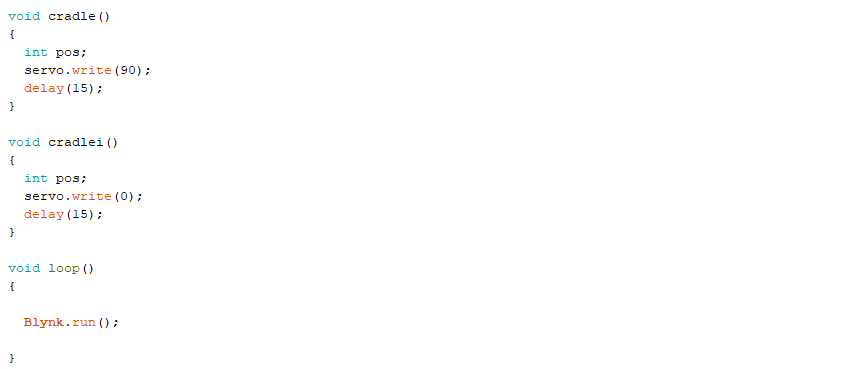
In this week, I make a connection and put a program code into NodeMCU ESP8266 to command the servo motor, buzzer and LED indicator using Arduino software (Arduino IDE). There are many trials that I made for installing a code into NodeMCU ESP8266 because it is my first time using it.

NodeMCU is a microcontroller board that comes with Wi-Fi Module that is ideal for the IOT (Internet of Things) project. The servo motor can be used directly with NodeMCU’s servo motor libraries in Arduino IDE. The piezo buzzer, which require pulses with certain frequency to produce sound/voice. Then, i use super bright 3 mm LEDs. They are suitable for low power, high-intensity reliable light, or indication. Next, a 3.3V and 5V Breadboard Power Supply Module with series diode, polarity reversal protection. The module can take 6.5V to 12V input and can produce 3.3V and +5V. After that, I write a coding and install into NodeMCU ESP8266.


Other than that, my project is connected to the socket outlet from electric fences by using solar power system to generate voltage to the gate.


Comments
Post a Comment